STEP 2:
Use an iron to adhere the iron- on adhesive to the back side of your fabric (follow the instructions on your chosen product for this step).
STEP 3:
Allow your fabric and adhesive to cool and remove the protective backing from the adhesive. Place your tissue paper over the adhesive and usse your baking paper to protect the tissue from direct contact with the iron. Iron the tissue onto the adhesive. The heat from the iron will activate the adhesive, while the baking paper will stop the tissue from burning.
Finally, complete your bookcloth by trimming the edges to ensure that both the fabric and tissue lining are fused together.
PROS: Mess free, only a few steps, quick to do
CONS: Fabric won’t be water resistant, Fabric can mark, easily - (ie. not ideal for recipe books!), fabric can not be hot foiled or embossed.
PASTED BOOKCLOTH
This is almost identical to the previous method with the main difference being using a paste to adhere the fabric to the backing tissue.
WHAT YOU WILL NEED:
STEP 1:
Cut your fabric and tissue paper to the required size.
STEP 2:
Place your fabric face down on a hard surface such as your bench or a piece of stone if you have one. Next you are going to paste one side of the tissue.
STEP 3:
Apply a thin layer of paste to one side of your tissue. Gently lift the paper (it will want to curl so lift both edges at the same time) and place the pasted side of the tissue onto the back of your fabric.
STEP 4:
Use your hand or a rolling pin to smooth down the paper on the fabric. You need to press or roll out any air bubbles but you should try to avoid pressing the paste through the fibres of the fabric.
STEP 5:
Leave your book cloth to dry overnight. Trim the edges. It is now ready to use.
PROS: Very inexpensive, Easy to make, Not time consuming (excluding drying time)
CONS: Can be messy, Fabric won’t be water resistant, Fabric can mark, easily - (ie. not ideal for recipe books!), fabric can not be hot foiled or embossed.
COATED BOOKCLOTH
The final method we’ll explore in this post is for a ‘coated’ or ’filled’ book cloth. Again there are several methods to do this using slightly different ingredients. This is the most complex of the three but the result is the most like the book cloth that we would use in the bindery on a regular basis.
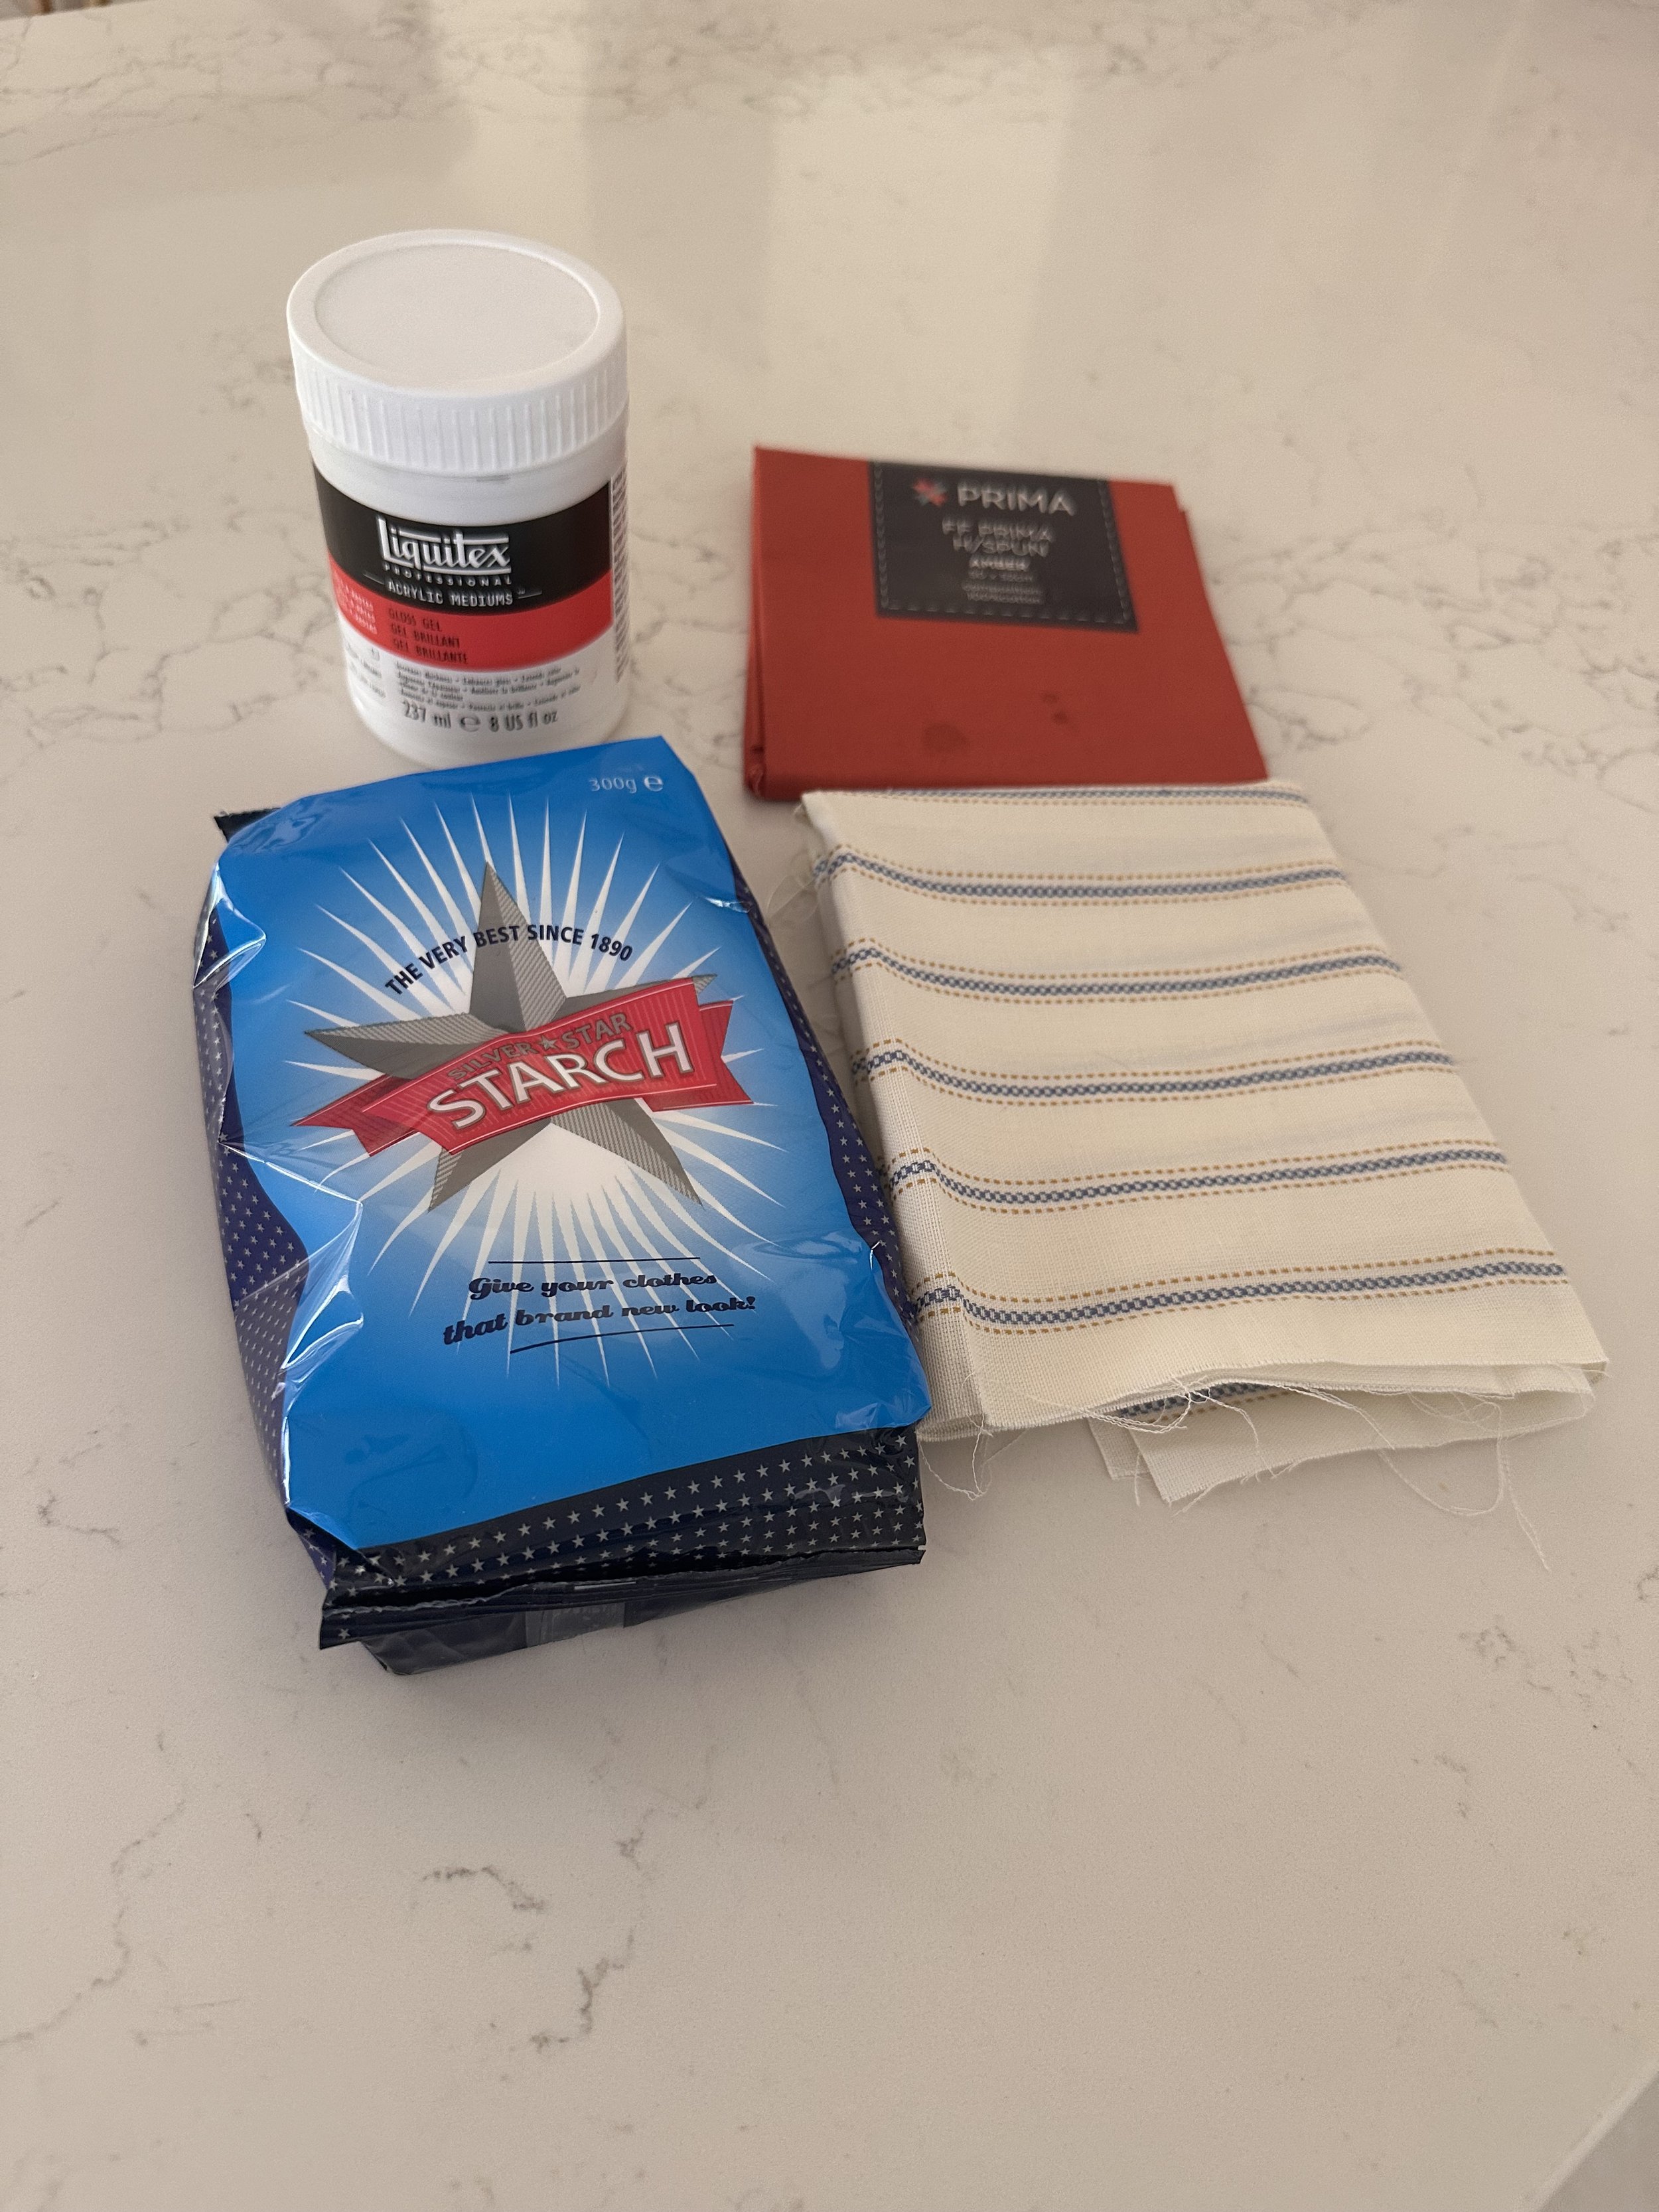
WHAT YOU WILL NEED:
Fabric (this method requires a tightly woven cotton or linen)
Acrylic medium (available in art supplies shops like Zart Art)
Starch Paste (The bindery one is from the UK - but I used this Silver Star one that is easy to find)
A piece of stone, glass or heavy plastic
Paste Brush or Mini Paint Roller